
Gluten-Free Sourdough Starter Recipe
As a kid, I loved to grocery shop with my mom. I’d giddily wander the aisles adding sweets and treats to the cart, which my kind mother would secretly replace on the shelves without my knowledge – saving my teeth (and her wallet) extra pain.
Once I’d satisfied my craving for retail therapy and we were back in the car, I’d snag a loaf of sourdough from one of the bags in the back seat and satisfy my other craving…

Let me explain, I loooove bread. That soft on the inside, crispy, and chewy on the outside texture of freshly baked bread is only matched by the inviting smell of freshly baked bread. Even as a child, I could easily take down a loaf of bread without a second thought.
After my Celiac diagnosis, I visited the local grocery store to find there were few gluten-free options, and most often what was there was…sub-optimal. I found a few favorite GF bakeries that are a must-visit whenever I’m in the area – Lemonade in Vancouver, Alkeme in Rossland, Senza Gluten in NYC – but I’ve found the most convenient and economical option these days is to bake.
I was lucky enough to have my first GF Starter gifted to me by a friend, and have since started two others: one when my first starter molded (scroll down for tips and tricks to keep your starter healthy), and another for my sister. Making your own starter is fairly simple, it just takes a few ingredients readily available in most grocery stores + a little time.
Here’s what you’ll need:
- Gluten-free flour of your choice (2) – I chose white and brown rice + a blend from Cloud9 Bakery
- Water – Room Temperature
- Mason Jar – or any glass jar with an air-tight lid
- Maple Syrup (optional)

Mixing:
- Create flour mixture of your choice – be sure to combine these in advance so there are no clumps.
- Add equal parts flour mixture + room temp water and stir until combined.
- Optional – if using fibrous flours (ie Buckwheat and Brown Rice) vs sweet flours (White/Sweet Rice, Amaranth) you may need to add 1tsp Maple Syrup to help the breakdown process start.
- Seal + place in a warm location, out of direct sunlight – I keep mine on the warming center of my stovetop.
You should see bubbles forming within 24 hours – this means your starter is doing its thing!

Feeding:
Your starter will require regular use + feeding to stay healthy + ensure the proper amounts of bacteria thrive. Aim to bake with your starter 1-2 times per week and feed it before + after you bake.
Feeding your starter is easy – simply mix equal parts gluten-free flour of your choice and room-temperature water, stir, seal + place back in its warming spot to bubble up.
Out of your fav flour blend? No worries. In a pinch, I’ve used blended oats (DIY oat flour) with great success.
Tips + Tricks To Keep Your Starter Healthy:
As I mentioned earlier in the post, I’ve suffered the loss of a starter in my time to mold – I still think about my poor baby wasting away due to my negligence, and I want to save you from that kind of pain.
- Feed Me, Seymour – see above.
- Keep Your Starter Warm – the fermentation needed to create sourdough requires warm (not hot) conditions.
- Start with a Clean Container – ensure your jar + lid are sterile + free from competing bacteria.
- Use Clean Utensils – your measuring tools and stirring utensils should also be clean.
- Clean Your Jar + Lid – after each feeding, wipe residue from the inside of the jar to prevent mold and remove excess moisture from the inside of the lid to avoid rusting.
Most importantly – HAVE FUN!
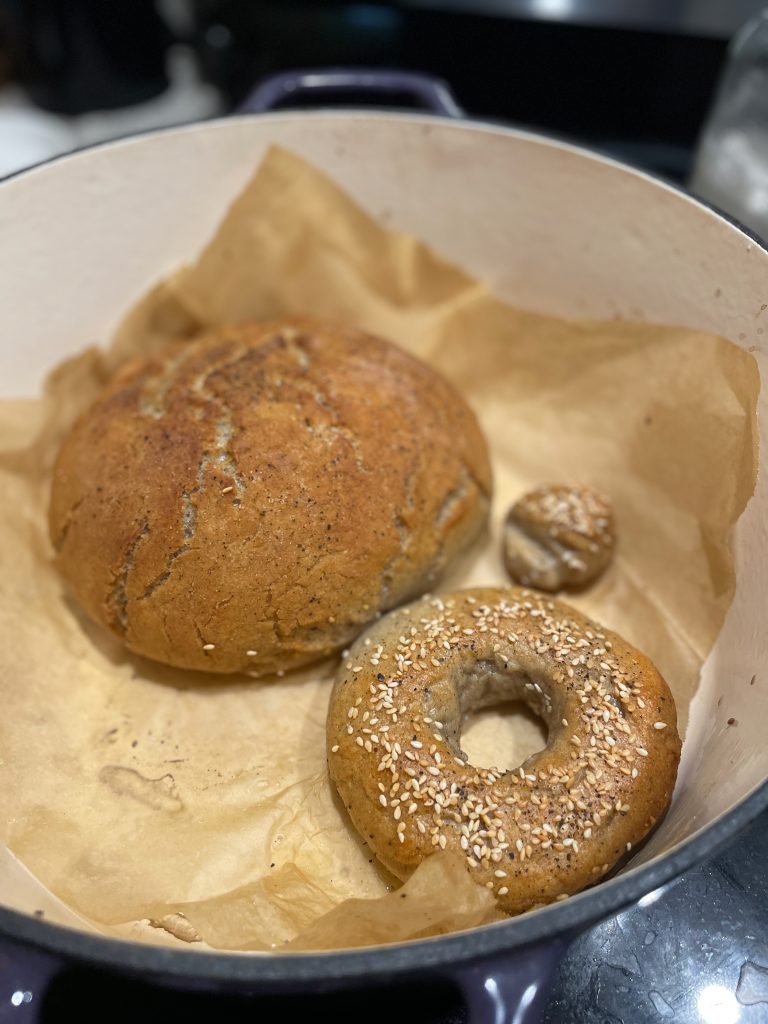
I’ve experimented with sourdough in all forms: from bagels and pizza dough to scones, banana bread and doughnuts. You really can’t go wrong, so have fun and try adding sourdough to some of your fav recipes for a fun upgrade and grown-up feel + all the gut-loving benefits sourdough provides!


Did you enjoy this recipe? Leave a <3 in the comments and let me know if you try it!